Automated RSS-Imported News Aggregator Website, using ChatGPT and Event-Condition-Action Models
We are continuing on from our previous Drupal Feeds Module tutorial and diving into building our own automated OpenAI ChatGPT-powered news aggregator site. We’ve already learned how to periodically and automatically import content from remote RSS feeds. In this edition, we’ll learn how to automatically rewrite/enhance the imported content to add some more unique character to it, using OpenAI’s chatGPT and the powerful ECA (Events-Conditions-Actions) module.
The OpenAI module provides a suite of modules and an API for OpenAI integration with Drupal for generating text and images, performing content analysis and more. OpenAI is the company behind artificial generational intelligence products that powers applications like ChatGPT, GPT-4, GPT-3, DALL-E etc.. The goal of this module’s maintenance team is to find ways of augmenting and adding assistive AI tech leveraging OpenAI API services in Drupal CMS, transforming content management and maintenance tasks.
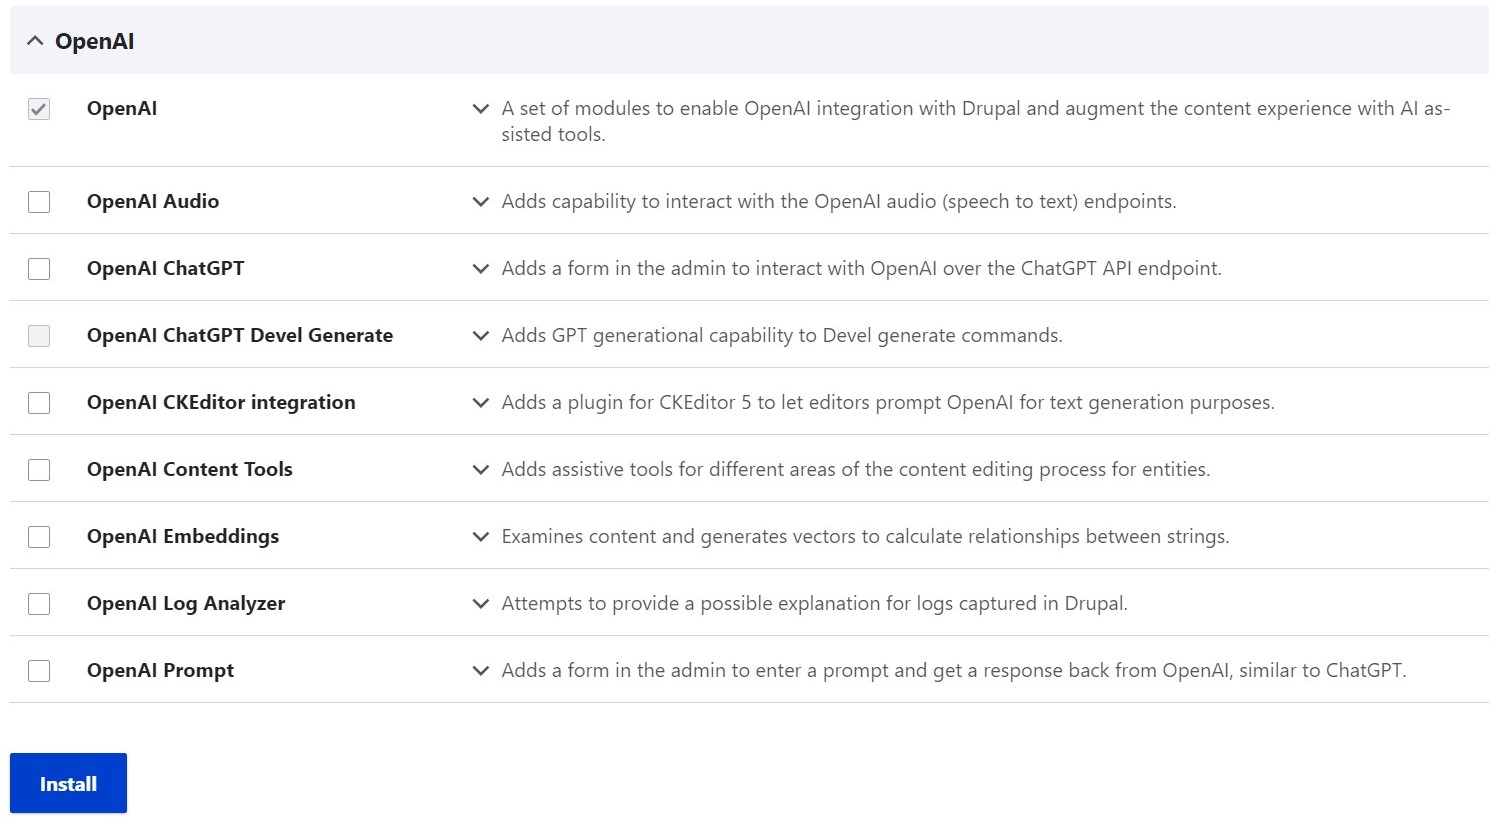
Installing the OpenAI ChatGPT Module
To install the OpenAI ChatGPT module, we need to get its latest stable version from the project’s official page on drupal.org: https://www.drupal.org/project/openai. Towards the bottom of the page, we can see the following information about the module: There’s currently a beta version available (which, for the most part, worked without issues during our testing) but an even more stable release might be available when you get to read this tutorial.
To install the module, run the corresponding command on your Terminal / Command Line / Shell, in your project’s directory:
After installing the ECA module, you’ll find numerous sub-modules available on the Extend (/admin/modules) screen. For now, we only need to enable the ECA Core (required by all other ECA modules), ECA Content, and ECA UI.
Automating Content Editing with ECA
Because we want to automate the process of editing our imported content to enhance it with chatGPT, we’ll also install and enable the ECA module. ECA (“Events Conditions Actions”) provides automation i.e. actions that get triggered when certain events occur.
The Rules module used to be the go-to solution for workflow automation tasks but only an alpha version of the module released on 3 October 2023 is available for Drupal 10 at the time of writing, whereas ECA is ahead with an increasing adoption rate as well as a beta version that’s also more recent (released 19 May 2024).
In order to add and enable the latest version of the OpenAI module, we also needed to update the version of Drupal Core on our website to 10.3.0-beta1 as well as update some module dependencies in our Composer JSON file.
Configuring the ECA Workflow
After enabling the necessary modules, we need to add our unique OpenAI API and organization keys on the corresponding settings page under /admin/config/openai/settings.
Now that we’ve installed, enabled and configured all the necessary modules, it’s time to build the automation workflow that will transform the content of our imported Article nodes. On the main configuration screen for ECA titled “Configure ECA — Events, Conditions, Actions Add to Default shortcuts”:
…click on the “+ Add new model” button to add a new model using the BPMN modeller we’ve already installed:
Using the symbols toolbar on the left side of the screen, we drag the circle object onto the canvas to create our Start Event. This is the beginning of our ECA flow; think of it as the Event that triggers our sequence of actions that follow.
To test our model, we’ll first delete the previously imported Article nodes and re-import a fresh batch of Articles, using the RSS Feed we previously developed. Here’s how an imported Article node looks like (before deletion):