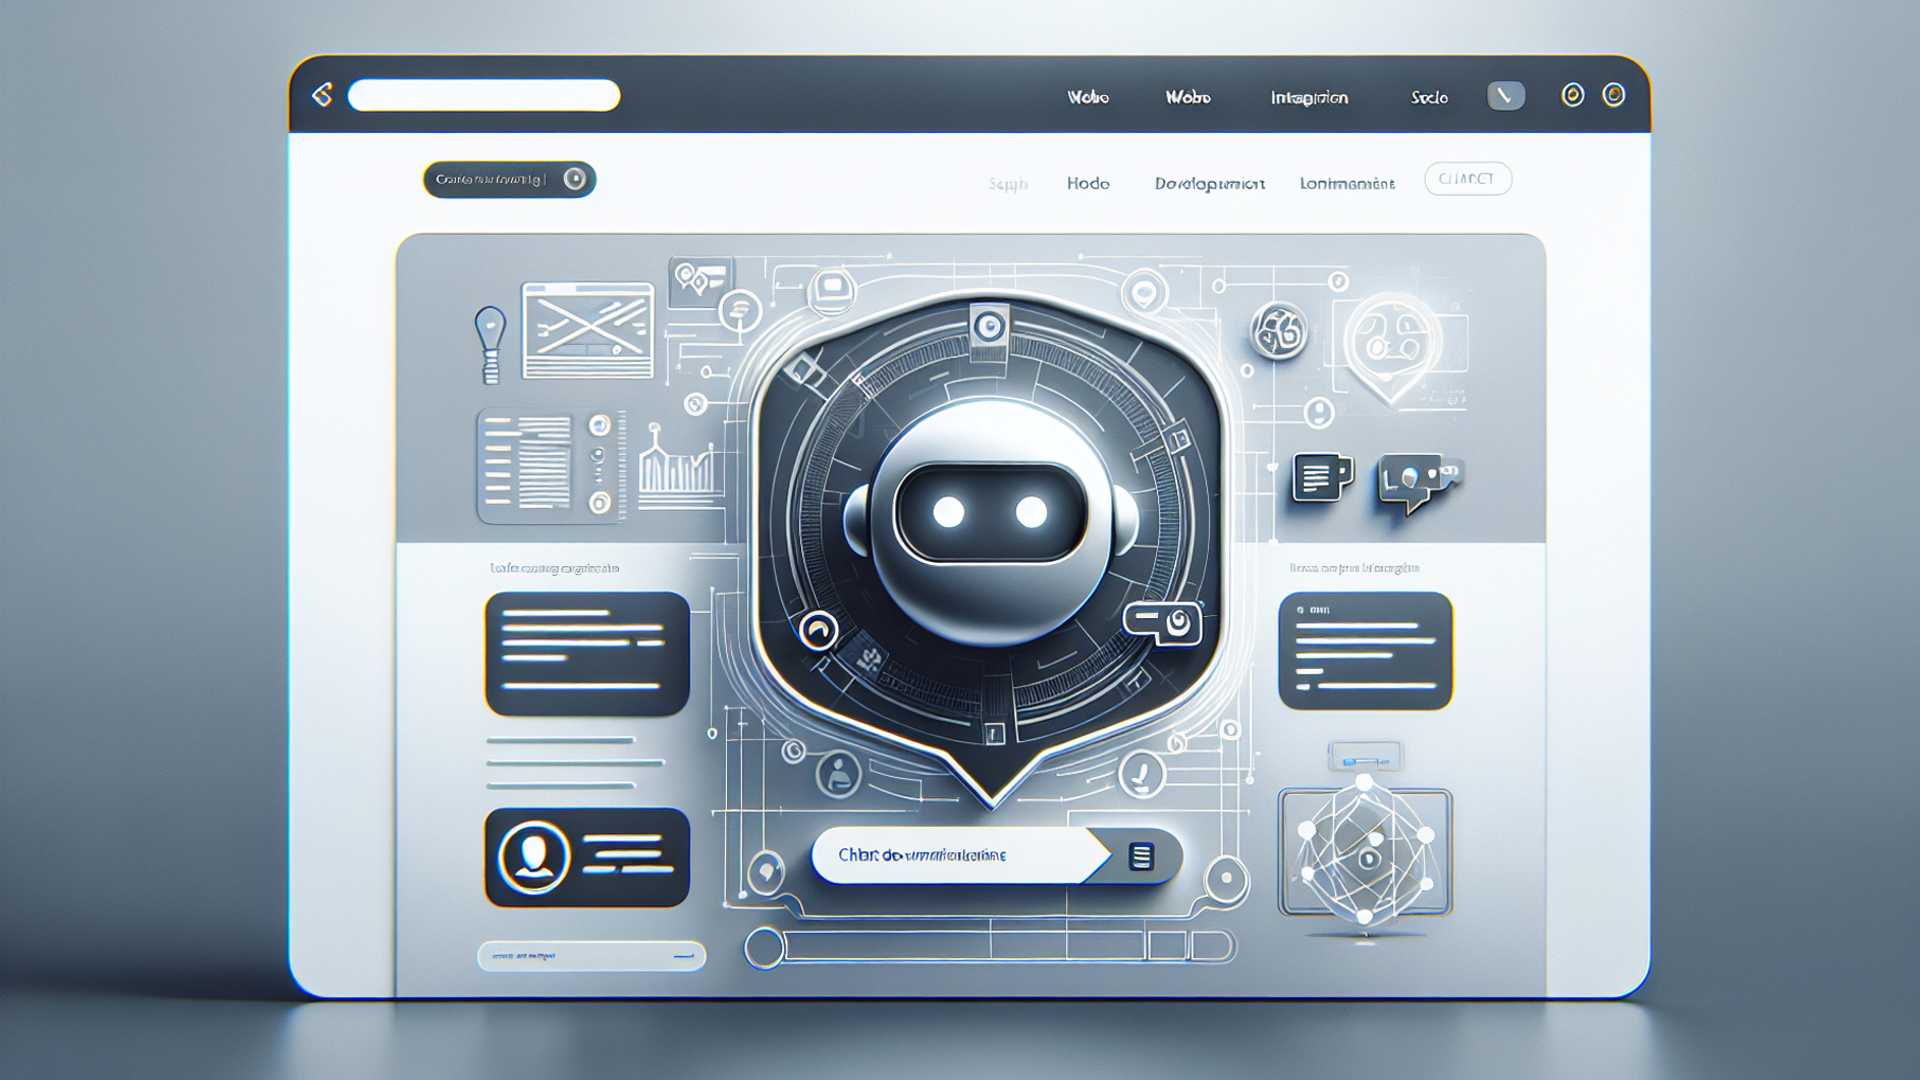
Integrating ChatGPT with Your Website: A Step-by-Step Guide
In today's fast-paced digital landscape, businesses are continually seeking innovative ways to enhance user experience on their websites. One of the latest advancements in artificial intelligence, OpenAI's ChatGPT, offers a unique opportunity to engage visitors and provide interactive assistance. This guide will walk you through the process of integrating ChatGPT with your website, ensuring a seamless and efficient setup.
Step 1: Understand the Basics
Before diving into the integration process, it's essential to understand what ChatGPT is and how it works. ChatGPT is a language model developed by OpenAI that can generate human-like text based on the input it receives. By integrating it into your website, you can offer real-time chat support, answer frequently asked questions, and more.
Step 2: Accessing the ChatGPT API
To integrate ChatGPT, you first need to obtain access to the OpenAI API. Sign up on the OpenAI website and generate your API key. This key will allow your website to communicate with ChatGPT.
Step 3: Setting Up Your Server
Create a server that will handle requests between your website and the ChatGPT API. You can use languages like Python, Node.js, or any server-side technology you are comfortable with. The server will send user input to the ChatGPT API and return the responses to your website's front end.

# Example using Python's Flask framework
from flask import Flask, request, jsonify
import openai

app = Flask(__name__)

openai.api_key = 'YOUR_API_KEY'

@app.route('/chat', methods=['POST'])
def chat():
    user_message = request.json.get('message')
    response = openai.Completion.create(
        engine='text-davinci-003',
        prompt=user_message,
        max_tokens=150
    )
    return jsonify({'message': response.choices[0].text.strip()})

if __name__ == '__main__':
    app.run()
Step 4: Integrating the Front End
Next, you need to create a chat interface on your website. This can be done using HTML, CSS, and JavaScript. The chat interface will capture user inputs and display the responses from ChatGPT.
Step 5: Testing and Optimization
Once the integration is complete, thoroughly test the chat functionality on your website. Ensure that the inputs and outputs are as expected and that the system is responsive. Fine-tune the user interface and server configurations as needed to provide the best user experience.

Step 6: Monitor and Maintain
After launching the ChatGPT integration, continuously monitor its performance. Gather user feedback to identify any areas of improvement. Regularly update the API key and server software to keep up with the latest security and performance updates from OpenAI.
Integrating ChatGPT with your website can significantly enhance how you interact with visitors, offering instant support and engagement. With this step-by-step guide, your business can stay at the forefront of web development trends, providing innovative solutions to meet your customers' needs.