Introducing Gemini CLI by Google
Google has recently introduced Gemini CLI, an AI agent designed to seamlessly integrate Gemini into your terminal. Here are some key features of Gemini CLI:
- 1,000 free requests PER DAY
- Open source
How to Install and Use Gemini CLI
Follow these simple steps to install and start using Gemini CLI:
-
Install Node:
Go to lnkd.in/dcfzTCUA and download the version for your operating system. For Windows or macOS, you can opt for the prebuilt version for an easy installation process. -
Launch your terminal:
Open your terminal (Powershell on Windows) and type the following command to install Gemini CLI globally:
npm install -g @google/gemini-cli
Then, launch Gemini CLI by entering:
gemini -
You're all set!
Once you have completed the installation steps, you are ready to start using Gemini CLI. You can now perform various tasks such as navigating to folders, requesting code explanations, code editing, website creation, video generation, file organization, and much more!

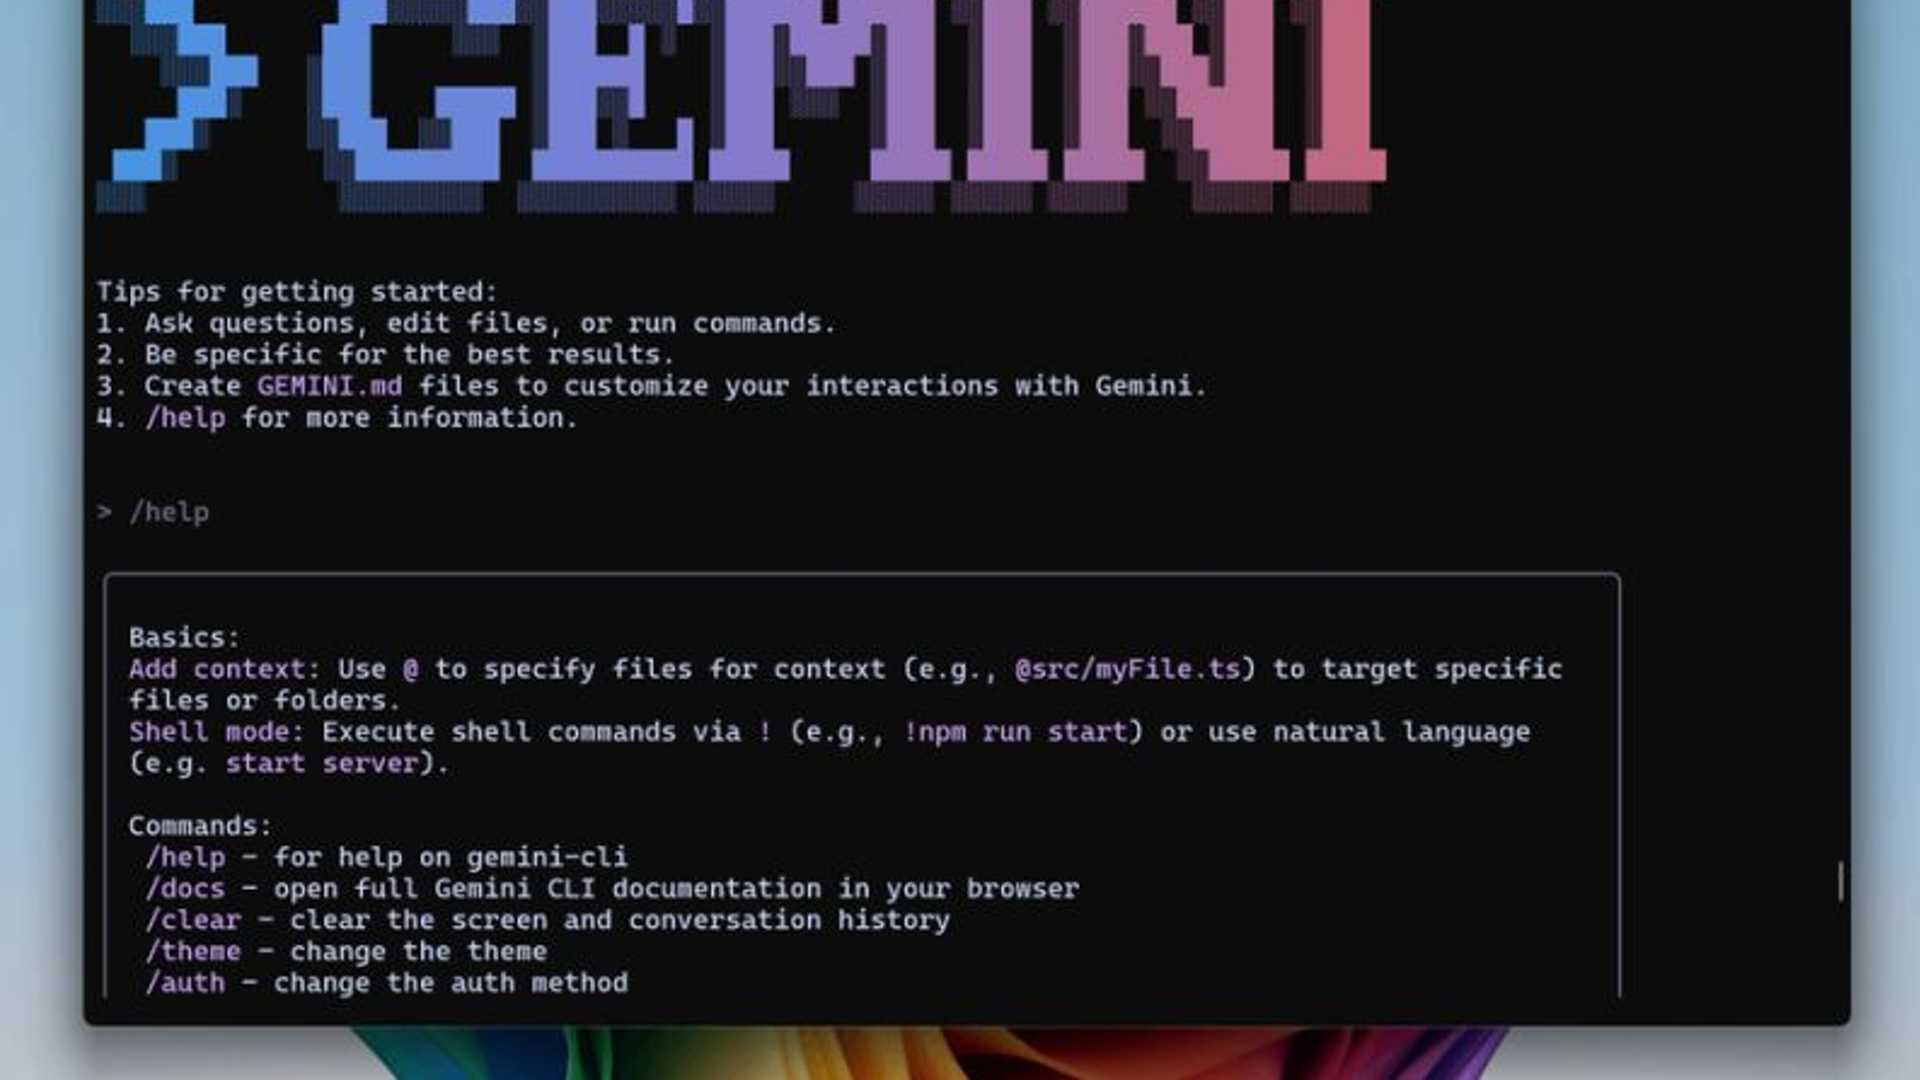
Exploring Gemini CLI
If you want to explore more about Gemini CLI, check out this detailed tutorial on how to install and use it effectively:

-
Install Node:
Go to lnkd.in/dcfzTCUA and download the version for your operating system. For Windows or macOS, you can opt for the prebuilt version for an easy installation process. -
How to Use Gemini CLI:
Learn how to effectively use Gemini CLI in your development workflow. Master the commands and capabilities of this powerful coding assistant.