How to Use and Install AgentGPT AutoGPT - Revesery
If you're looking for an AI agent that takes automation to the next level, then you should try AgentGPT AutoGPT. This project is even more complex than AgentGPT but is packed with features that you could ever want, making it super customizable. Here's how you can get started with AgentGPT AutoGPT:
Getting Started with AutoGPT
To set up AutoGPT, you'll need to use VSCode/Python, a memory backend like Pinecone, Milvus, Regis, or Weaviate, and an API key from ElevenLabs. Once you have those things, you're ready to go! AutoGPT aims to make GPT-4 fully autonomous by deploying AI agents.
Installing AgentGPT
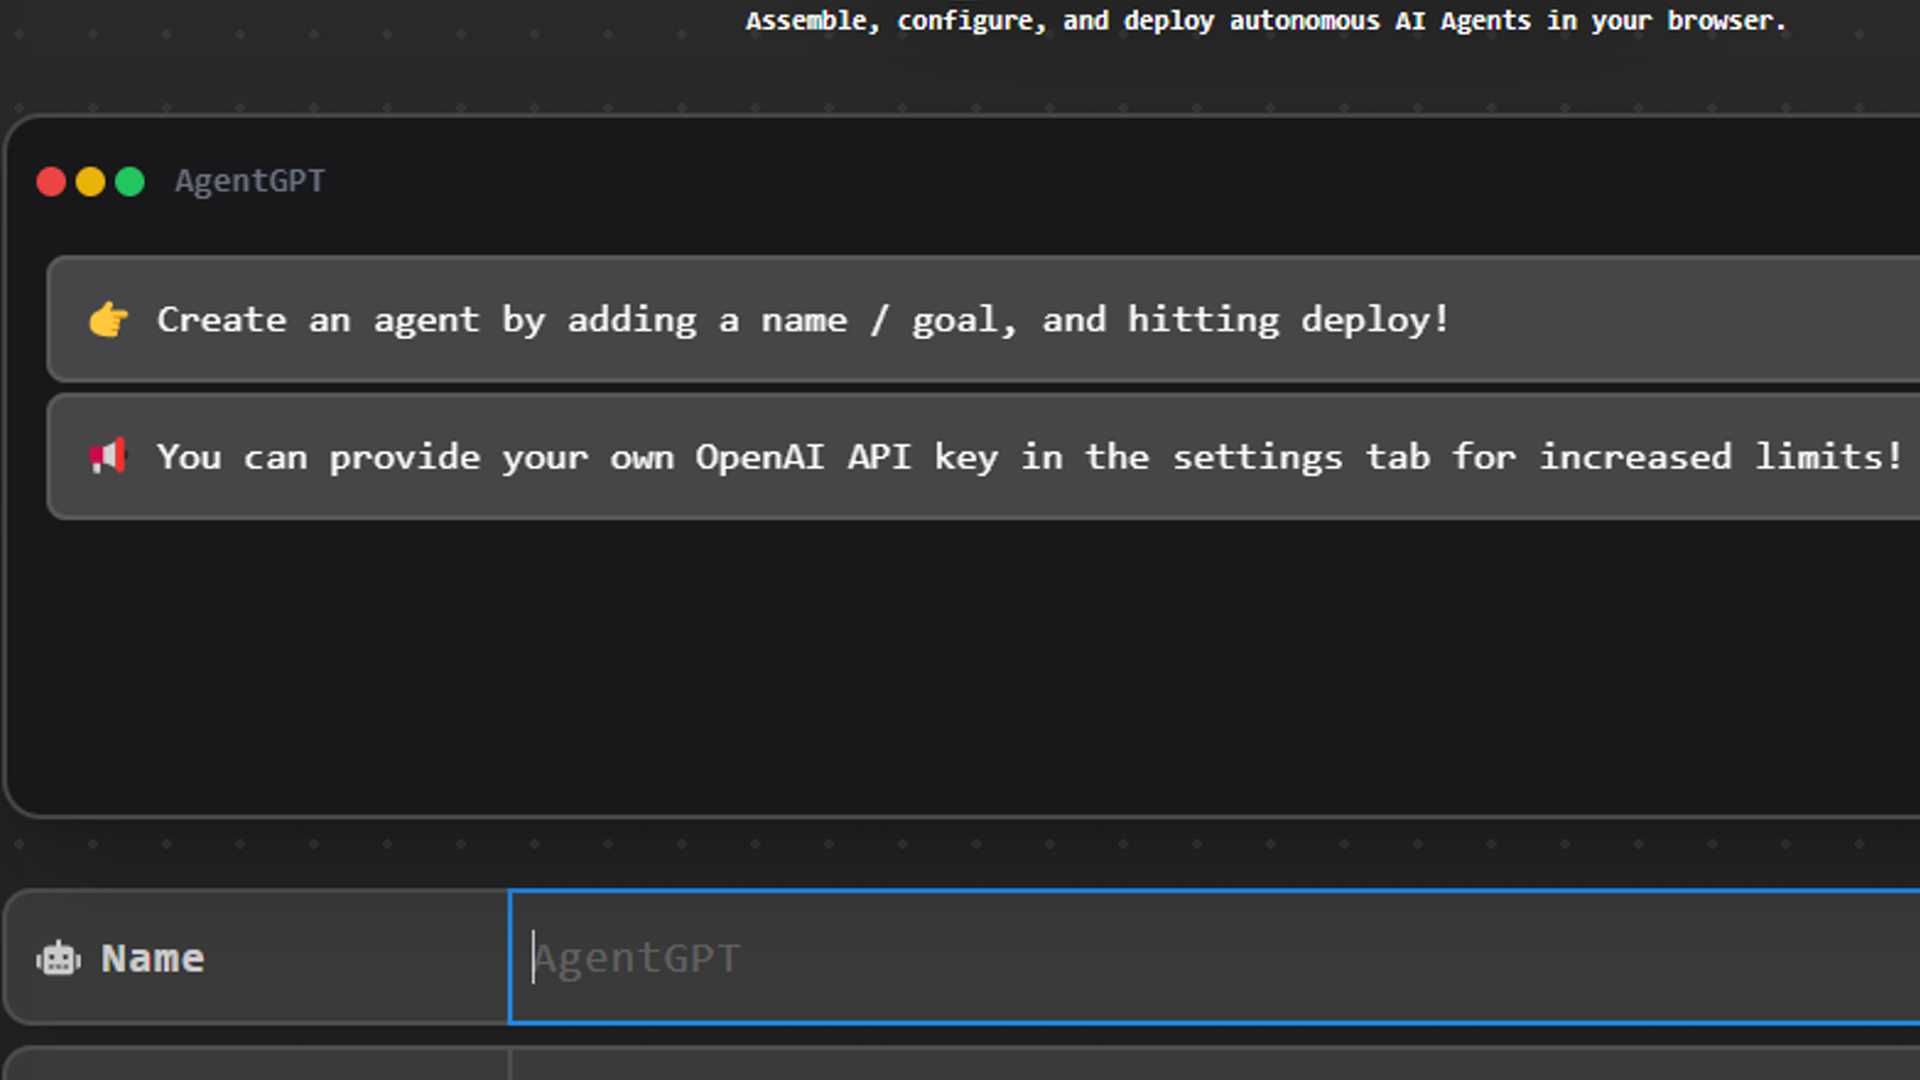
To use AgentGPT, you'll need to create an account on the website. Once you're signed in, you can save your agents for future use, give them a name and a goal. Here are the steps to take:
- Get an OpenAI API key from https://platform.openai.com/account/api-keys
- Set up AgentGPT by visiting https://agentgpt.reworkd.ai and pasting your API key in the settings to finalize the configuration.
- Deploy your agent by entering the name you want for your AutoGPT agent, enter the goal you want it to achieve, click on the blue button, and enjoy! It will determine and perform the tasks to reach the goal. You can stop it at any time by clicking on "Stop Agent".
Features of AutoGPT
AutoGPT has a ton of features like memory pre-seeding for accuracy, continuous mode, GPT 3.5 only mode, image generation, and speech using ElevenLabs API. The developers have even created a template for AutoGPT plugins, which is really cool!
That's it! With these steps, you'll be able to install and use AgentGPT AutoGPT easily. So, go ahead, create your agent, and watch it achieve your goals autonomously. Don't forget to visit Revesery.com and tools premium to stay updated about the latest tech trends.