How to Build a Medical Chatbot with Flutter and Gemini: A Comprehensive Guide
In today's digital age, the demand for accessible and accurate health information is higher than ever. Leveraging the power of artificial intelligence, we can create intelligent chatbots that provide reliable health-related guidance. This beginner's guide will walk you through building a powerful and specialized medical chatbot using Flutter and Google's Gemini API. The chatbot will be able to receive input from various modalities like text, audio, camera, files, and a gallery, and it will be strictly confined to answering health-related questions.
The Power of AI in Healthcare
AI-powered chatbots are transforming various industries, and healthcare is no exception. They offer a scalable and efficient way to disseminate information, answer frequently asked questions, and even provide initial assessments. By focusing on health-related queries, our chatbot will act as a specialized assistant, providing concise and accurate information to users.
How to Set Up Your Development Environment
We’ll build our medical chatbot using the following key technologies:
- Flutter: Google's UI toolkit for building natively compiled applications for mobile, web, and desktop from a single codebase. Its rich set of widgets and expressive UI make it ideal for creating engaging chat interfaces.1
- Google Gemini API: Google's most capable and flexible AI model. Gemini is multimodal, meaning it can process and understand different types of information, including text, images, audio, and video. This capability is crucial for our chatbot to handle diverse user inputs.

flutter_ai_toolkit: A Flutter package that provides a set of AI chat-related widgets and an abstract LLM provider API, simplifying the integration of AI models into your Flutter app. It offers out-of-the-box support for Gemini.google_generative_ai: The official Dart package for interacting with Google's Generative AI models (Gemini).
Project Structure
Before we dive into the code, make sure you have Flutter installed and configured on your system. If not, follow the official Flutter installation guide here.
To interact with the Gemini API, you need an API key. This key authenticates your application and allows it to send requests to the Gemini model.
Here's how to get your Gemini API key:
- Go to Google AI Studio: Open your web browser and navigate to https://aistudio.google.com/.
- Log in with your Google account: If you're not already logged in, you'll be prompted to sign in with your Google account.
- Click "Get API key in Google AI Studio": On the Google AI Studio homepage, you'll see a prominent button with this text. Click it.
- Review and approve terms of service: A pop-up will appear asking you to consent to the Google APIs Terms of Service and Gemini API Additional Terms of Service. Read them carefully, check the necessary boxes, and click "Continue."
- Create your API key: You'll now have the option to "Create API key in new project" or "Create API key in an existing project." Choose the one that suits your needs. Your API key will be auto-generated.
- Copy your API key: Crucially, copy this API key immediately and store it securely. It will not be shown again. Do NOT hardcode your API key directly into your production code, especially for client-side applications. For development purposes, we will use it directly in our
MedicalChatScreenfor simplicity, but for a real-world application, consider using environment variables or a secure backend to manage your API key.
Open your pubspec.yaml file (located at the root of your Flutter project) and add the necessary dependencies to interact with Gemini API. After adding these, run flutter pub get in your terminal to fetch the packages.
Our project will have a simple structure:
lib/main.dart: The entry point of our Flutter application.lib/screens/chat.dart: Contains the main chat interface for our medical chatbot.
Code Implementation and Explanation
Let's break down the provided code and understand each part.
Here’s what’s going on in this code:
import 'package:ai_demo/screens/chat.dart';: This line imports thechat.dartfile from thescreensfolder. This is where ourMedicalChatScreenwidget is defined.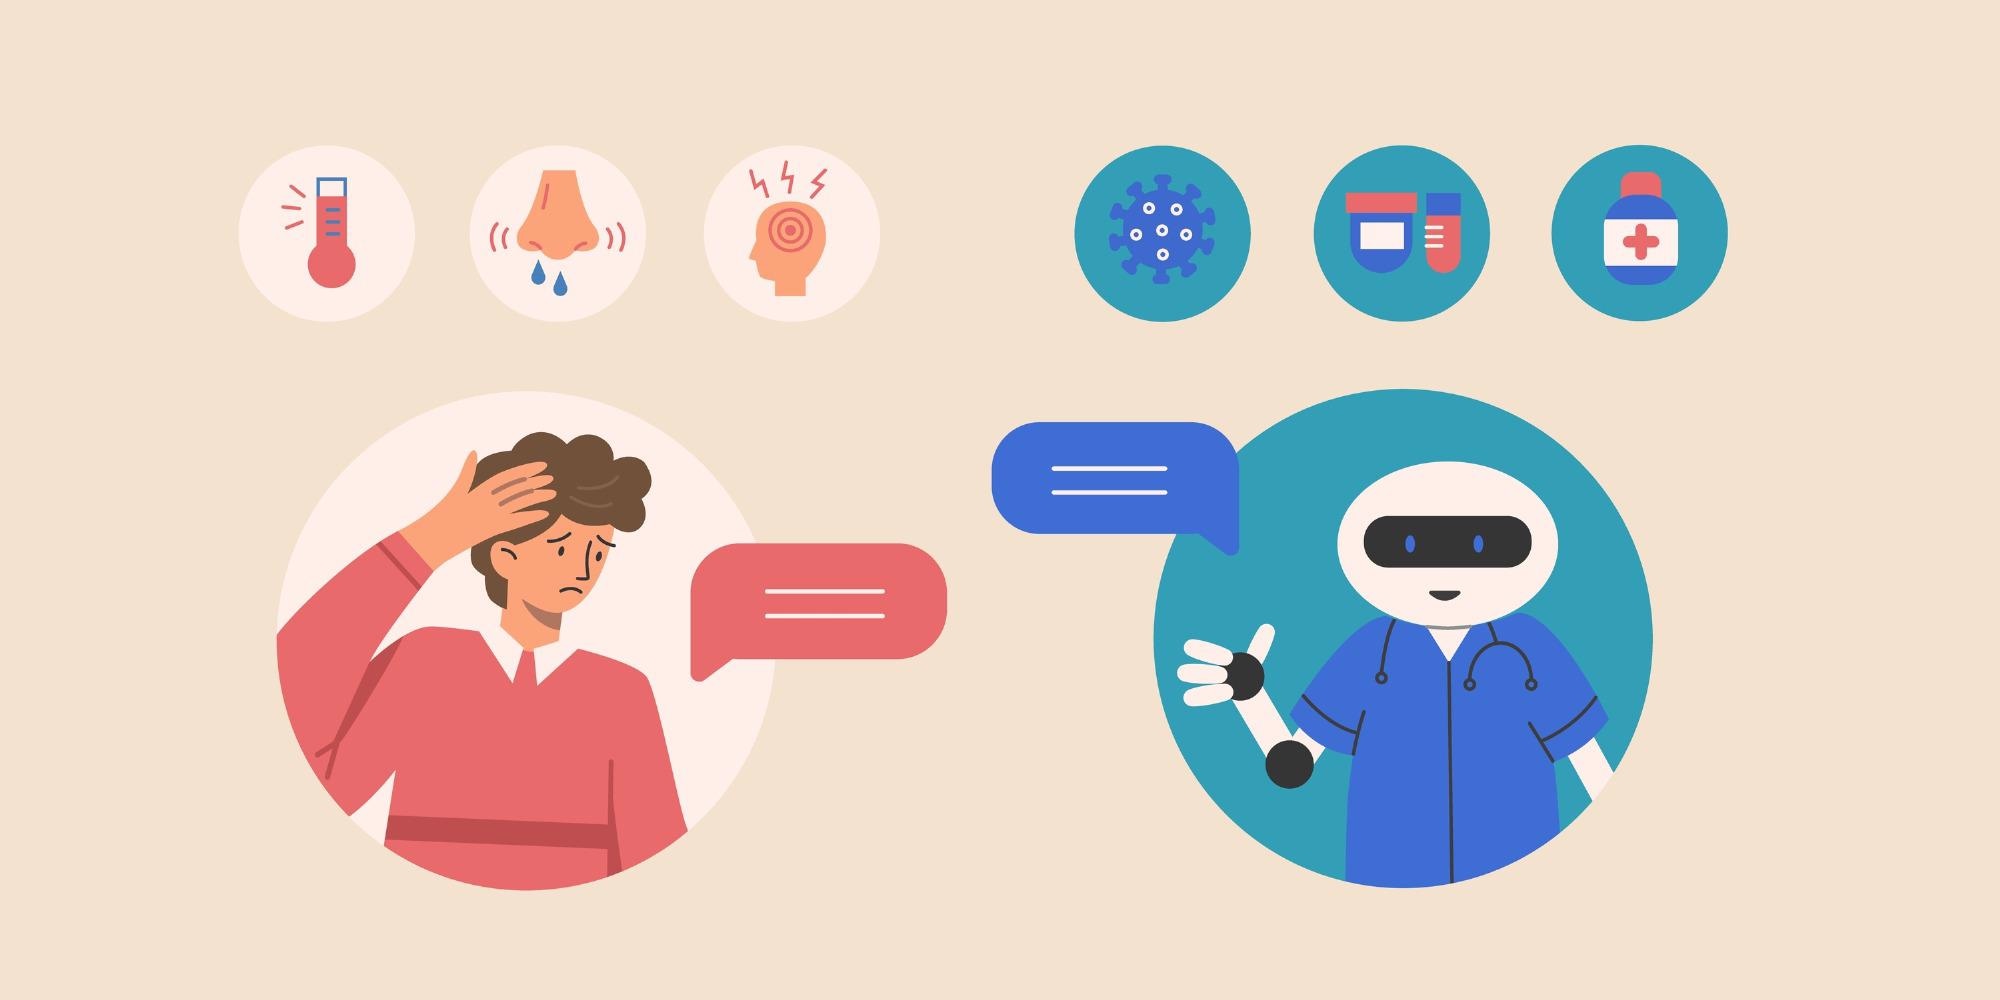
import 'package:flutter/material.dart';: This imports the fundamental Flutter Material Design widgets, essential for building the UI.void main() { runApp(const MyApp()); }: This is the entry point of every Flutter application.runApp()takes a widget as an argument and makes it the root of the widget tree.class MyApp extends StatelessWidget:MyAppis the root widget of our application.StatelessWidgetmeans its properties don't change over time.Widget build(BuildContext context): This method is where the UI of theMyAppwidget is built.MaterialApp: This widget provides the basic Material Design visual structure for a Flutter app.- ... (content truncated for brevity)
Important Considerations and Future Enhancements
The flutter_ai_toolkit package, when used with GeminiProvider, intrinsically supports multi-modal inputs. The LlmChatView automatically provides UI elements for:
- Text input: The standard text field for typing messages.
- Audio input: A microphone icon will typically be present, allowing users to record voice messages that are then transcribed and sent to Gemini.
- Camera input: A camera icon will allow users to take a photo and send it to the chatbot. Gemini can then process the image and provide a response.
- ... (content truncated for brevity)
Screenshots and Completed Project
The chatbot's persona and limitations are crucial for defining its behavior. It's essential to set clear instructions for the chatbot to ensure it stays within the scope of health-related queries. By following the provided guidelines, you can build a powerful and specialized medical chatbot using Flutter and Gemini API.
Wrapping Up
In conclusion, building a medical chatbot with Flutter and Gemini opens up new possibilities for providing accurate and reliable health information to users. By leveraging the capabilities of AI models like Gemini, you can create a specialized assistant that caters specifically to health-related queries. Follow the steps outlined in this guide to embark on your journey of developing a cutting-edge medical chatbot.